How to make a Macro Light Box
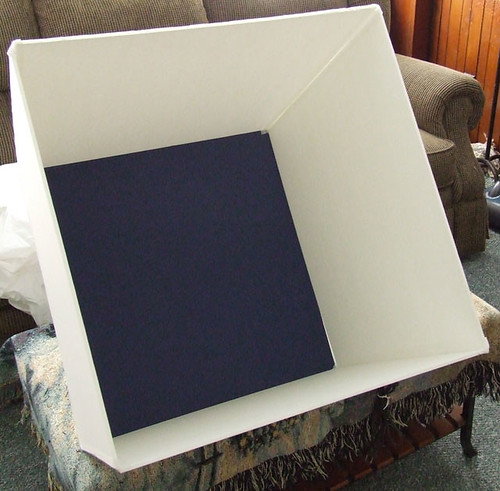

Well I am sure most of you have seen something similar to this. There is nothing difficult about it. All I did was buy 4 white foam boards at the dollar store and one foam board that had a blue back on one side and white on the other. I cut it down to a more reasonable size. Any size you choose is fine, and if you want I suppose you don't need to cut it at all depending on what you want to take a picture of.
Then I used white cloth tape, this is important as you don't want to use masking tape as the color is different, and it would show up in your picture. Tape the sides together and then tape your back on to the square. I chose to have a colored background, but I can change that by using a piece of white poster board to insert when necessary.
I found that because I have 7 cats keeping it fur free will be difficult, fortunately I have an old bicycle gift wrap bag laying around not doing anything. And if it does get dirty I can just use a lint roller to remove anything.
Now all I need is some lights to clamp on the sides for indirect lighting. Once I have those I be able to post some pictures. I tried doing some today but without the indirect lighting they came out pretty badly.
I am also going to cut a whole at the top and make it a flap so I can take top view pictures. This will make it a lot easier and give some better angles.
Now there are some tutorials where you use an existing box cut out the sides and tape poster board on it and then shine the light from the outside of the box for indirect lighting. But I chose this method as I thought it would give me better control of the shadows. And I can position it better for more depth and texture.
Let me know how this works if you try it, I would love to see some shots.


No comments:
Post a Comment