Turning Your Favorite Photographs into Works of Art
Really! In 5 or 6 steps. This is any easy one guys. First off pick a photograph you would like to look like a sketch. I love sketches frankly, a few years back Deb & I were in Maine and we were at the boardwalk and an artist was doing sketches, and we paid $80.00 I think for this great work of art of the two of us. We have it still.
Well I found a tutorial that can turn a photograph into a sketch and it looks pretty amazing.
Heres what I started with.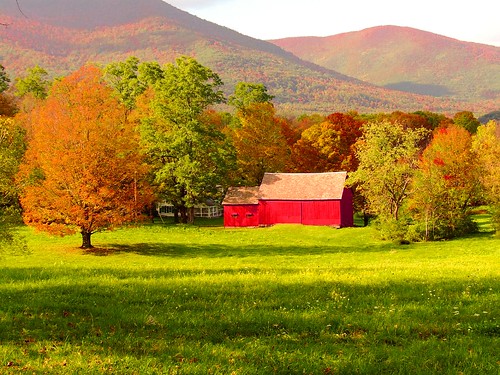
I applied these really easy to follow instructions.
1. Open up the photograph you want to convert.
2. Duplicate the background layer and set it blending option to “Color Dodge”
Start by copying your background layer, you can do that by dragging the background layer and dropping it at the “create a new layer” button as shown below. Now change the blending mode of the just created layer to “Color Dodge” as shown
3. Invert the newly created layer
Make sure that the “Background Layer copy” layer is selected and press CTRL+I to invert it. You should now have a completely (or almost) white picture. Don’t worry about that for now.
4. Apply the minimum filter
With “Background copy” layer still selected go to filter -> Other -> Minimum
The radius to select will depend on both your image resolution or content.
A smaller radius will make it look like more “sketch” a bigger one more “realistic” tweak that to your liking. I applied a radius between 2 and 5.
5. Add a Levels layer and set blending to multiply
Create a new levels adjustment layer, if you want experiment by moving the 3 arrows and till you find what you like best. If you like the picture as it is just click ok but DO create the layer in all cases. Now change the blending mode of the levels layer to multiply and you’re done.
This is what I came up with at this point. This took me all of maybe 5 minutes.
6. (Optional) Tone your sketch
I did say 4 steps but this one is optional, if you don’t want your sketch to be colored but rather toned or black and white, add a hue and saturation adjustment layer, make sure to click on “colorize” and tweak the hue and saturation to your liking.
This is what you come up with after this step.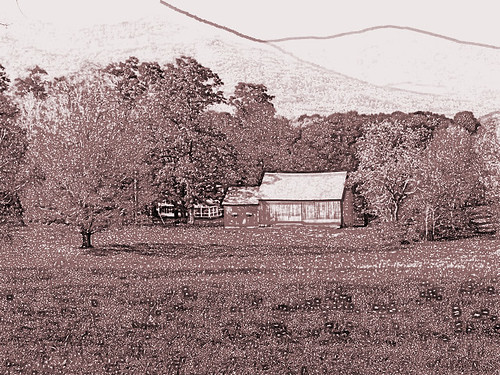 .
.
Frankly I like the color version best. But I guess it depends on the photograph.
Still haven't gotten to the monopod yet. Half way there and I am just waiting to make it to the hardware store. Hoepfully tomorrow.


No comments:
Post a Comment